If you’re just getting started with photography, you’ve probably wondered: “How do I learn to shoot in manual mode?” Or maybe: “Why are my photos too dark or too bright?” And you’re not alone. Exposure mistakes are one of the most common problems beginners face. This guide will teach you everything you need to know about exposure in photography, especially the exposure triangle.
TL;DR
- Exposure in digital photography means how much light reaches your camera sensor.
- It’s controlled by three settings: shutter speed, aperture, and ISO.
- These three make up the exposure triangle.
- Understanding them gives you full creative control over your photos.
- Automatic mode works sometimes, but manual settings unlock real artistry.
If you’re focused on video and don’t do much photography, you can read our guide on exposure and shutter angle for video instead.
What Is Exposure in Photography?
In simple terms, exposure is the amount of light that reaches your camera sensor. When you press the shutter button, light enters through the lens and hits the sensor (or film, in the case of analog cameras). This process creates the image.
You can control exposure with three tools:
- Shutter speed
- Aperture
- ISO
Together, these make up the exposure triangle. Each setting affects the brightness of your photo, and each one has a unique side effect.
Why Proper Exposure Matters
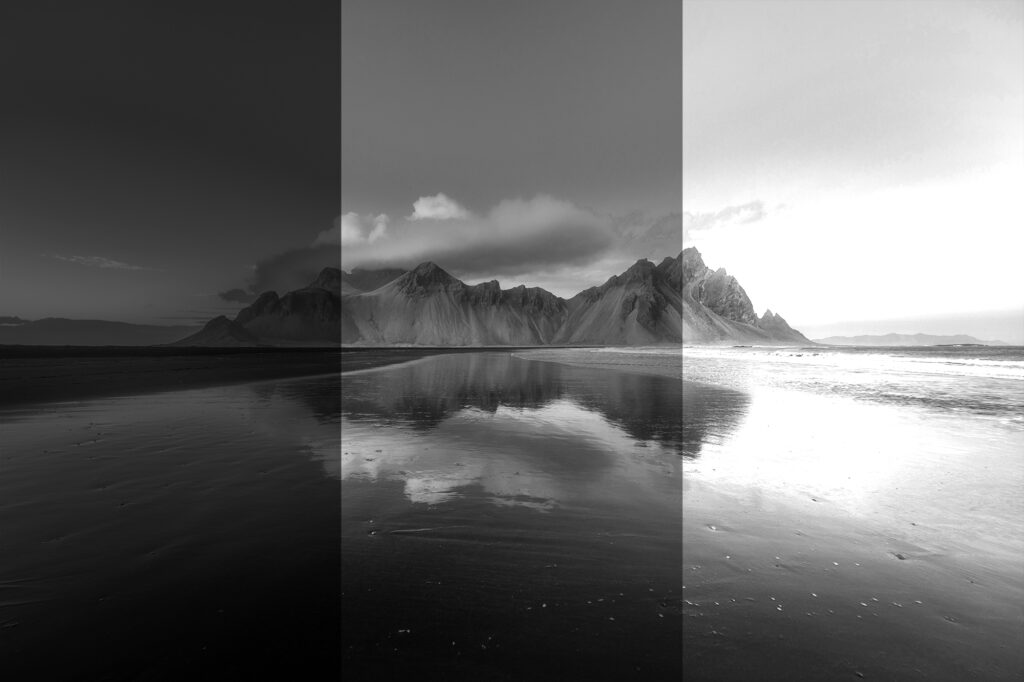
Scroll through Instagram and you’ll often see two common problems:
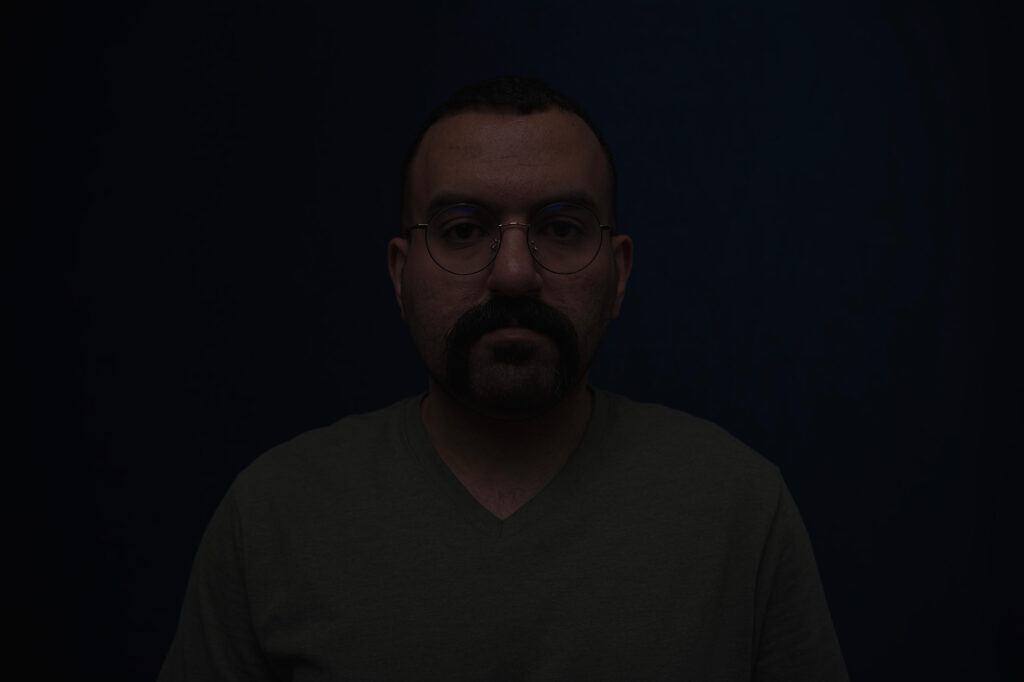
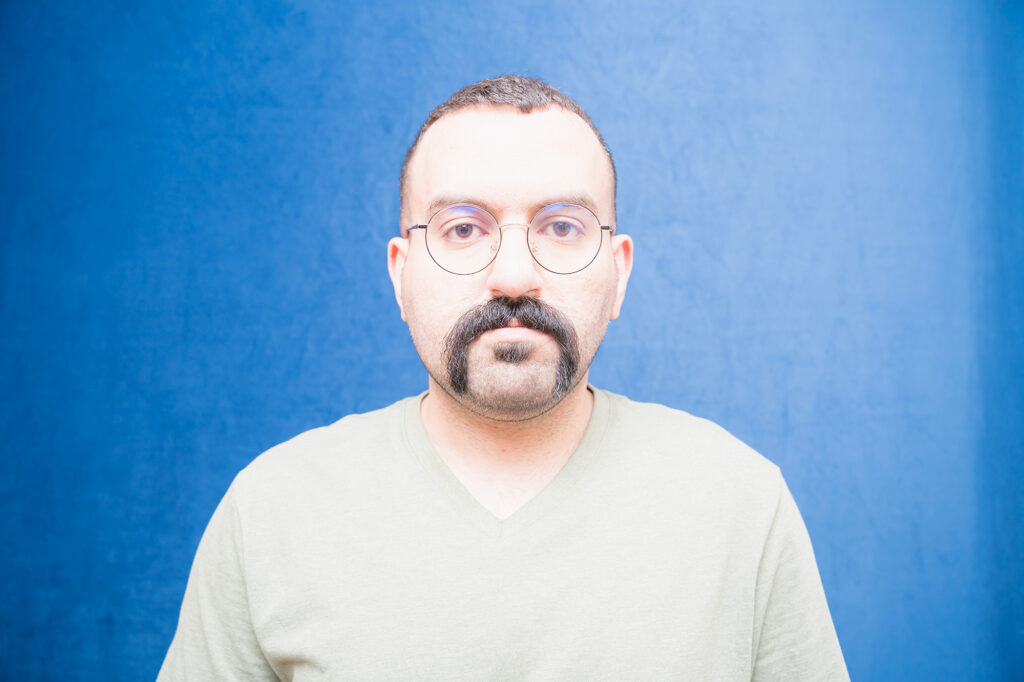
- Overexposed images: blown-out highlights, lost detail in bright areas
- Underexposed images: crushed blacks, too dark to see anything
Sometimes, over- or underexposing is a creative choice, but often it’s just a mistake. Many new photographers rely entirely on auto mode, not realizing that cameras can easily misjudge lighting, especially in tricky conditions.
Manual settings let you, the photographer, decide how your photo looks.
The Exposure Triangle
1. Shutter Speed
What it is: How long your camera’s shutter stays open.
Measured in: Seconds or fractions of a second (e.g., 1/1000, 1/30, 1″)
- Faster shutter = less light = darker photo
- Slower shutter = more light = brighter photo
Side effect: Shutter speed controls motion.
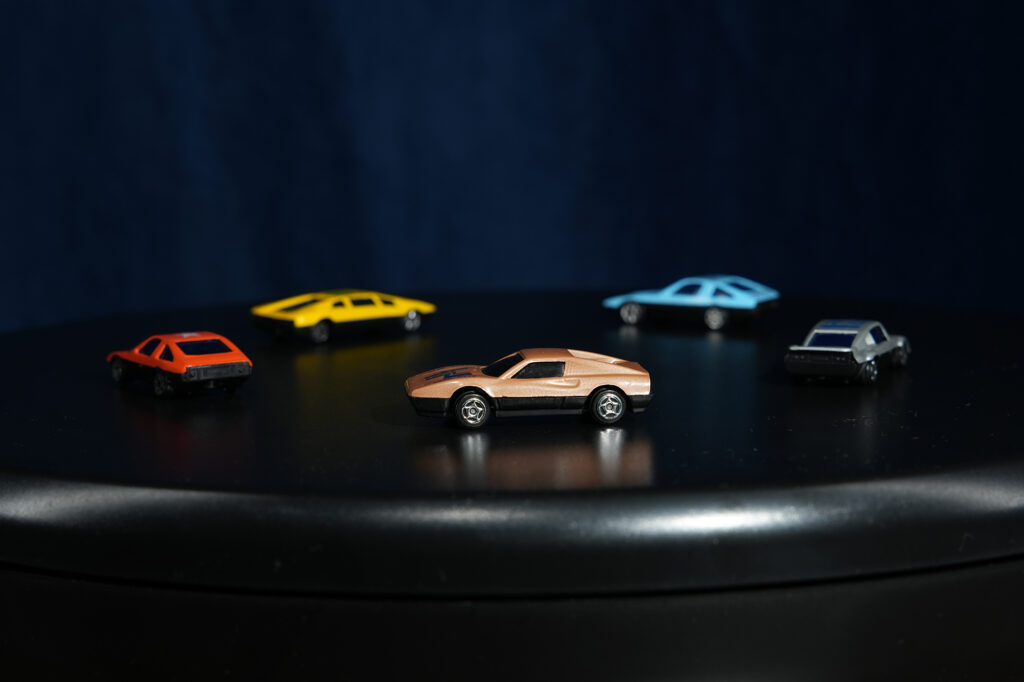
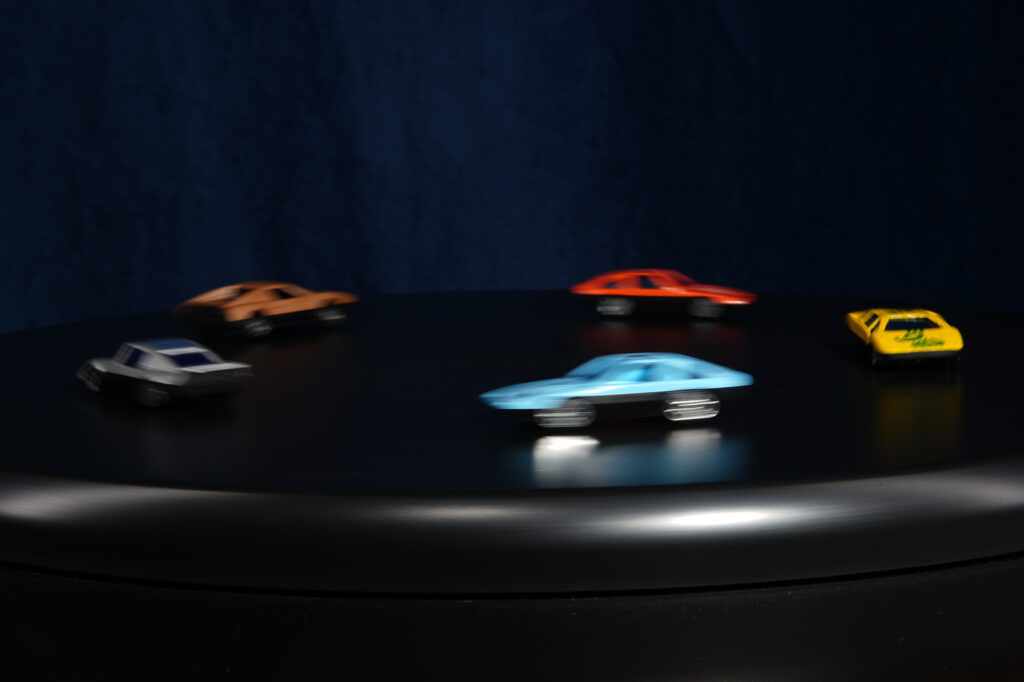
- Fast shutter freezes motion (great for action shots)
- Slow shutter shows motion blur (used for light trails or waterfalls)
Also remember: your hands shake. To avoid blurry photos, use a fast enough shutter or a tripod.
Pro tip: Learn the slowest shutter speed you can handhold without blur. This varies by person and stabilization in your lens or camera.
2. Aperture
What it is: The size of the lens opening that lets light in.
Measured in: f-stops (e.g., f/1.8, f/5.6, f/16)
- Lower f-number = wider aperture = more light
- Higher f-number = narrower aperture = less light
Side effect: Aperture controls depth of field: how much of your image is in focus.
- Wide aperture (e.g., f/2) = shallow focus = blurred background (great for portraits)
- Narrow aperture (e.g., f/16) = deep focus = everything sharp (great for landscapes)
Note: Super narrow apertures (like f/22) can cause softness depending on your lens. Test and find your lens’ sweet spot.
The “f” in the f-stop is the focal length of the lens.
3. ISO
What it is: The sensitivity of your camera sensor to light.
Measured in: Numbers like 100, 400, 3200, etc.
- Lower ISO = less sensitive = darker image
- Higher ISO = more sensitive = brighter image
Side effect: ISO affects image quality through digital grain or “noise.”
- Low ISO (e.g., 100) = less noise = cleaner image
- High ISO (e.g., 51200) = more noise = grainy low-quality image
ISO doesn’t actually increase light; it just amplifies the signal from the sensor.
Tip: Try different ISO settings on your camera to learn at what point the noise becomes unacceptable for your style.
How the Three Sides of the Exposure Triangle Work Together
All three elements of the exposure triangle interact. If you change one, you may need to adjust another to maintain proper exposure.
Example:
- Increase shutter speed (darker image)? Open the aperture or raise the ISO.
- Want more depth of field (higher f-number)? Use slower shutter or higher ISO.
Exposure stops: Every full stop doubles or halves the amount of light.
- 1 stop brighter = twice the light
- 1 stop darker = half the light
Modern cameras often let you adjust these settings in 1/3 stops. That gives you finer control over exposure. Remember that a third of stop is the same, whether it come from changing shutter speed, aperture, or ISO
The goal: balance all three settings based on your creative intent.
Now that you’ve learned the basics about light, you should turn your attention to color. Start by reading our white balance guide.
Last Words
Mastering exposure unlocks your creative potential as a photographer. It’s one of the first technical skills worth learning, and it separates beginners from those who are in control of their craft.
You don’t need the best gear. You just need knowledge, practice, and a willingness to experiment.
Want to keep learning? Follow me on your favorite social media (handle everywhere: @MediabyHamed / search for Hamed Media) or subscribe to my newsletter for more practical tips and guides like this.
FAQ
What are the three components of the exposure triangle?
Shutter speed, aperture, and ISO.
Why is the exposure triangle important?
Understanding it helps you achieve the correct brightness and creative effects in your images.
What happens if I change one setting in the triangle?
You’ll need to adjust the others to maintain proper exposure.