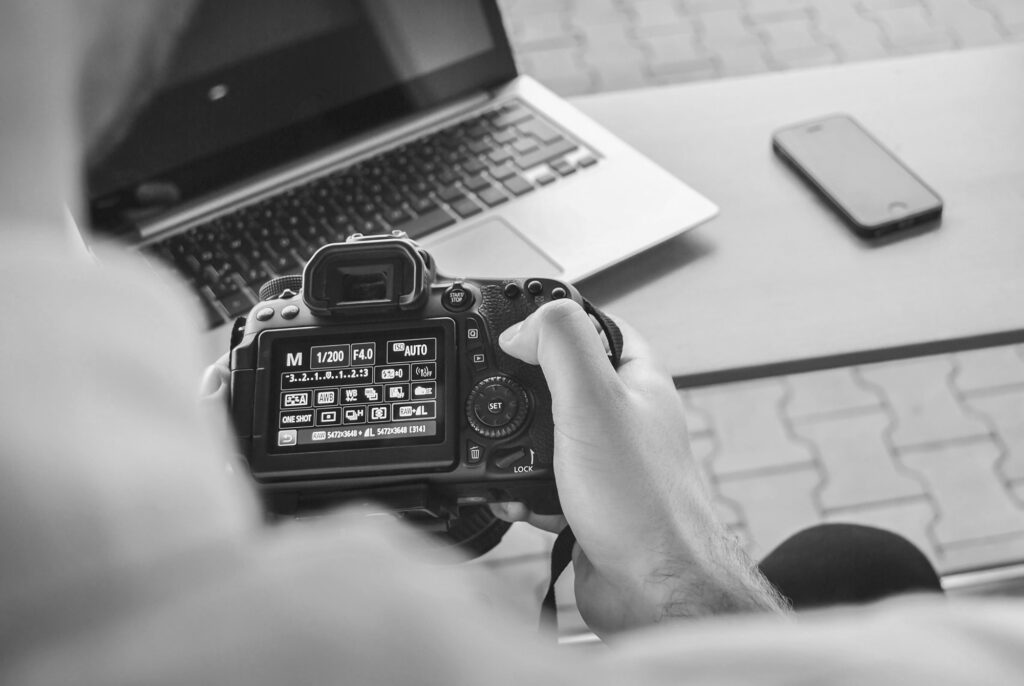
White balance (WB) is a core concept in both photography and videography that determines how colors are rendered in your final image or footage. Getting it right helps ensure your whites actually look white, and your entire color palette remains natural and true to life. In this post, we’ll explore what white balance is, how it works, how to set it correctly in-camera, how to fix it in editing, and how to creatively manipulate it for different visual effects.
TL;DR
- White balance ensures colors look natural by correcting for the color temperature of the light.
- Different light sources (tungsten, daylight, shade) have different color temperatures, measured in Kelvin (K).
- Auto white balance works well in many cases, but manual/custom settings give more control.
- Editing white balance in RAW photos is easy, but in video it’s much more limited (specially if you don’t record in a log profile).
- You can use white balance creatively to add mood or stylistic color shifts.
What is White Balance?
White balance is a part of your settings when taking photos or recording video, and it helps your camera reproduce colors naturally, making your whites look white and all the other colors more accurate.
Our eyes are excellent at adapting to different lighting conditions. Cameras are not. If white balance is set incorrectly, your footage might look too orange/yellow (warm light) or too blue (cool light).
Color Temperature & Common Light Sources
Each light source has a different color temperature:
| Light Source | Approx. Kelvin | Color Tint |
| Candlelight | 1000–2000 K | Very Warm (Orange/Red) |
| Tungsten bulb | 2500–3500 K | Warm (Yellow) |
| Fluorescent lights | 4000–5000 K | Cool (Green/Blue Tint) |
| Daylight | 5000–6500 K | Neutral |
| Cloudy/Snowy | 6500–7500 K | Slightly Cool |
| Shade | 7000–9000 K | Cool (Blue) |
White Balance Options on Most Cameras
Most digital cameras offer presets for white balance, like:
- Auto (AWB) – Automatically detects lighting. Great for quick shooting, not always accurate or consistent.
- Tungsten – For warm indoor lights. Adds cool tones.
- Fluorescent – Adds warmth to counteract the cool light.
- Daylight/Sunny – For neutral daylight.
- Cloudy – Adds slight warmth.
- Shade – Adds more warmth than cloudy.
- Flash – Adds warmth to counteract the typically cool flash light.
- Custom/Manual – You input the exact Kelvin value, or shoot a white/gray card.
How to Set Manual White Balance (Photo & Video)
Best method: Use an 18% gray card or white card.
- Place the card in your shooting scene, where you subject is going to be.
- Light it with the same light source that will hit your subject.
- Use the card to set a custom WB in-camera, or shoot a reference photo/video frame for post.
If you don’t have a gray card, you can sometimes use a white object (like paper or someone’s shirt or even eye white), but it may not be 100% accurate.
White Balance in Editing (Photos vs. Videos)
Photography:
If you shoot in RAW, you can change the white balance later with no quality loss. Most photo editing software (e.g., Photoshop) have:
- White balance presets
- Color temp/tint sliders
- Eyedropper tool to select a neutral white or gray point
JPEG files are much less flexible: you can shift the color slightly using Levels or Curves, but it’s not precise and can reduce image quality.
Videography:
White balance editing in video is much more limited. You can:
- Use color grading software (e.g., DaVinci Resolve)
- Adjust color wheels or temperature/tint
- But: video files don’t usually carry the same editing flexibility as RAW photos, unless you shot in raw or log formats
That’s why setting white balance correctly before recording video is critical. There’s much less room to fix it later, especially on compressed footage like MP4.
If you need flexibility in post, and if your camera offers it, you should use a log profile for your videos or shoot in a raw format. It’ll give you similar options as RAW photos.
Pro Tip: If you’re recording interviews or scenes for a client, always double-check white balance. Inconsistent color across shots can ruin professional-looking work.
Creative Use of White Balance
White balance doesn’t always have to be “correct.” You can creatively shift it:
- Make photos/videos or some parts of them feel warmer or colder to enhance emotion
- Boost blue for a cold night-time feel
- Add warmth for sunset portraits, even if shot midday
Just make sure it’s an intentional choice, not an accidental mistake.
My Choice for White Balance
I usually set my white balance at 5600 kelvin (daylight) for all photos and video. This makes the images close to what I actually saw with my eyes when capturing them. It also creates a good starting point for editing a batch of photos or video clips in a unified way with the same colors.
By the way, white balance works hand in hand with exposure settings. Check out our Exposure Triangle guide to see how ISO, shutter speed, and aperture shape your shot.
Last Words
White balance is essential for natural, professional-looking results in both photography and videography. For photos, RAW gives you flexibility, but for video, your best bet is to get it right in-camera or shoot in a log profile. Understand your light, use custom settings when needed, and practice with different conditions.
Which do you prefer: natural colors or creative tints?
Want to keep learning? Follow me on your favorite social media (handle everywhere: @MediabyHamed / search for Hamed Media) or subscribe to my newsletter for more practical tips and guides like this.
FAQ
What is white balance in photography?
White balance adjusts the color temperature in your photos to make whites appear neutral under different lighting.
Why does white balance matter?
Correct white balance ensures accurate, natural-looking colors in your images.
Should I use auto white balance or set it manually?
Auto works well in many situations, but manual control gives better accuracy in tricky lighting.


