
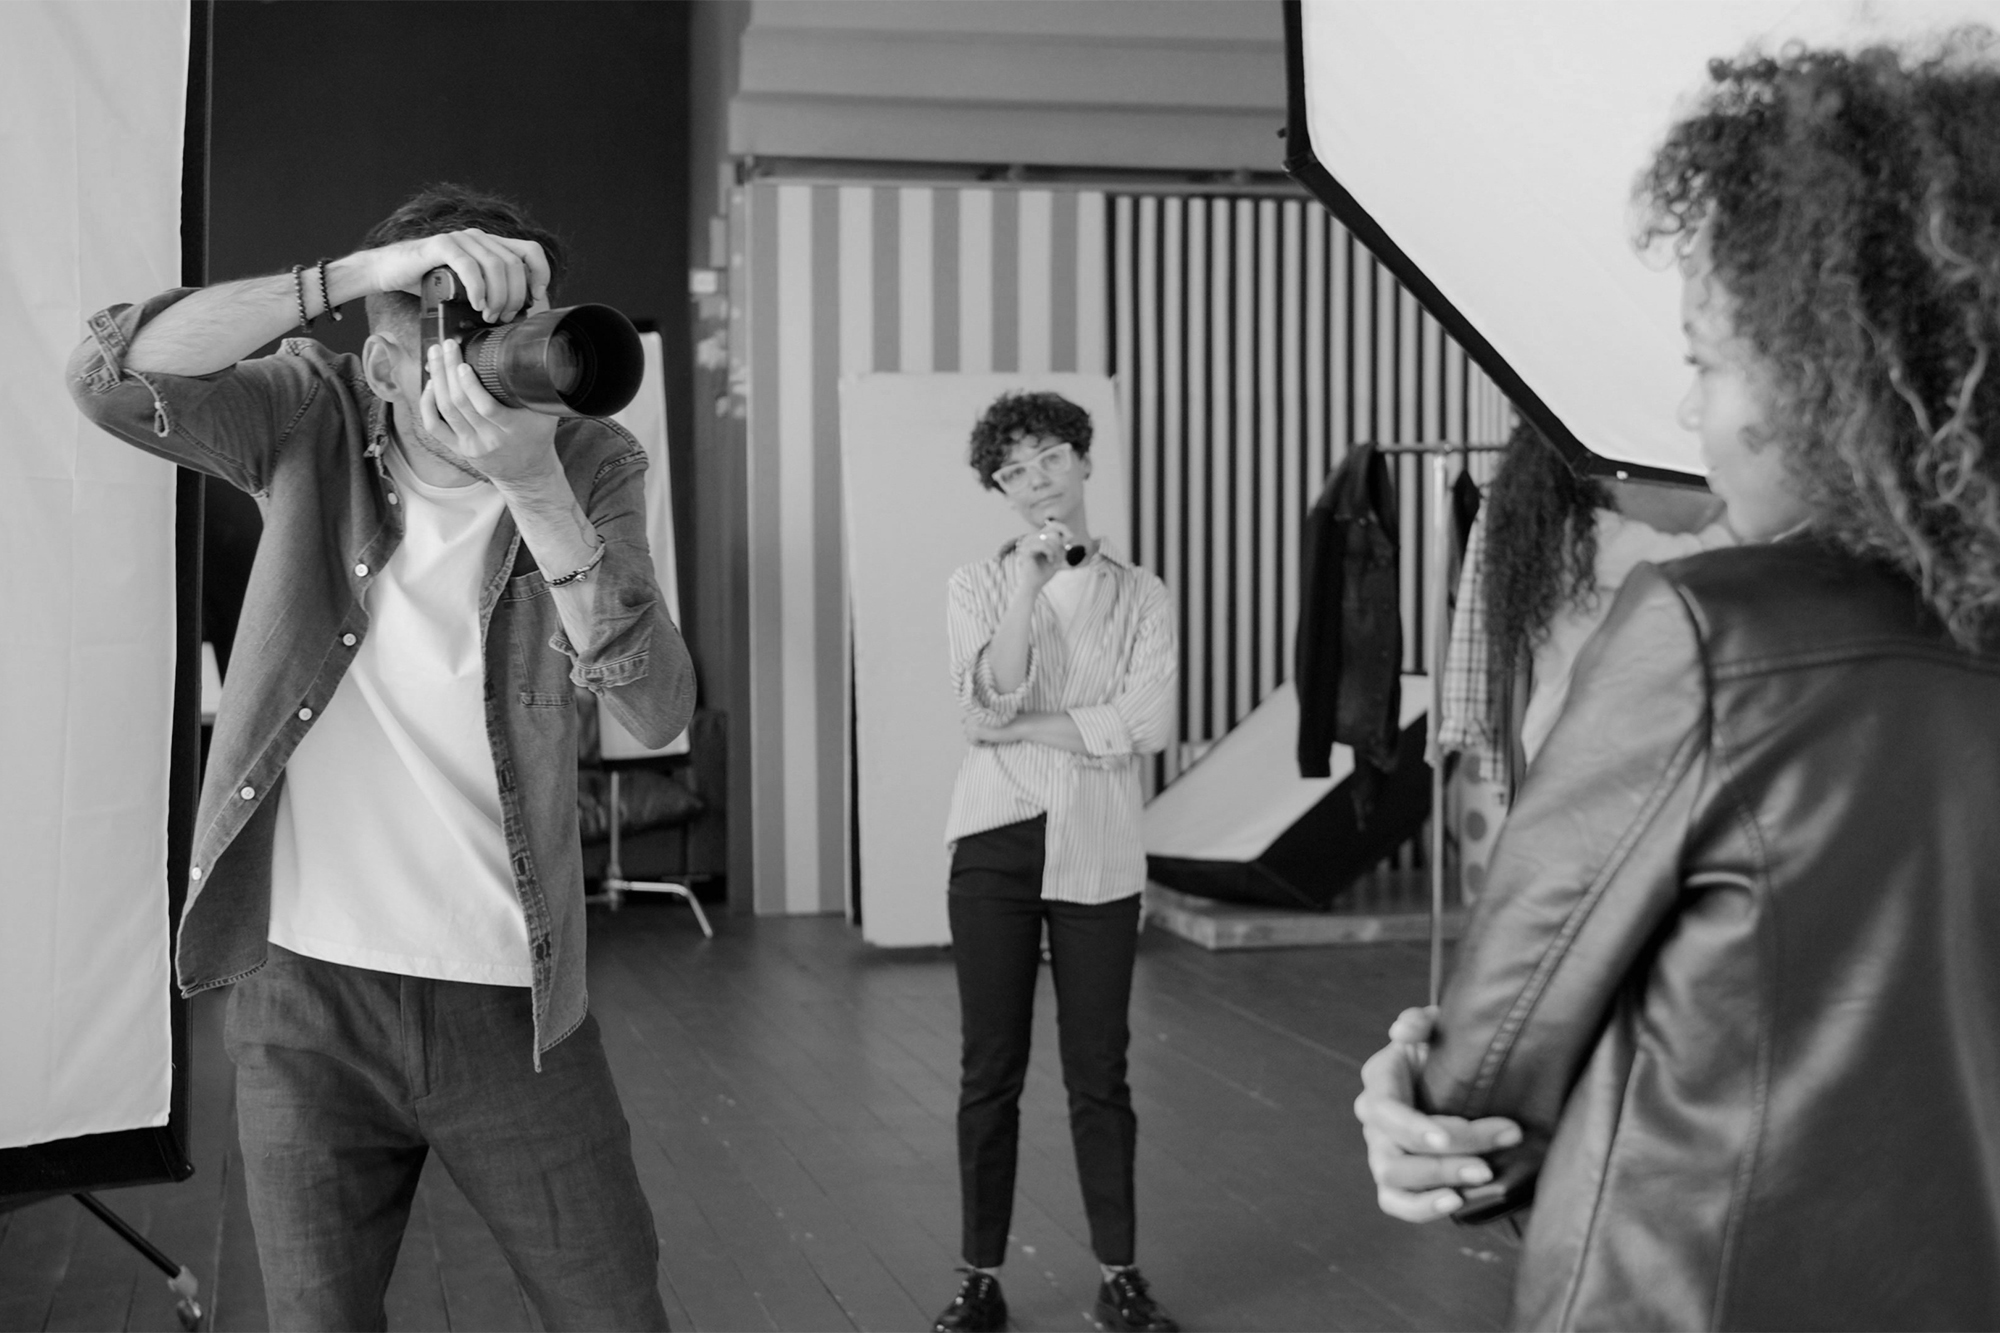
Today, we’re going to learn all about off-camera flash photography. But why? Because if you’ve ever used your camera’s built-in flash, there’s a good chance you didn’t enjoy the results.
The light probably looked harsh. Your subject may have appeared flat, shiny, or washed out. The background might have disappeared into darkness while the person in front of the camera looked like they had been illuminated by a flashlight. After a few disappointing attempts, many photographers decide that flash photography simply isn’t for them and go back to relying entirely on natural light.
The problem, however, usually isn’t the flash itself. It’s where the light is coming from.
When a flash is mounted directly on your camera, the light travels almost parallel to the lens. Because the camera and the light source are almost in the same position, shadows are pushed behind the subject where the camera can’t really see them. Without visible shadows, the image loses much of its depth and shape. Faces become flatter, textures become harsher, and portraits often feel more like snapshots than carefully crafted photographs.
Moving the flash away from the camera changes all of that.
Instead of accepting whatever lighting the environment gives you, you begin creating your own. You decide where the light comes from, how soft or dramatic it should be, how much attention the subject receives, and even how bright or dark the background appears. You’re no longer limited by the position of the sun or the lighting inside a room. You’re shaping the scene instead of simply recording it.
That level of control is why off-camera flash has become one of my most valuable tools in portrait photography. Whether you’re photographing people in a studio, creating dramatic outdoor portraits after sunset, or experimenting with creative techniques like shutter drag and light streaks, understanding off-camera flash opens the door to countless creative possibilities.
The good news is that it isn’t nearly as complicated as it first appears.
Many beginners imagine that flash photography requires an expensive studio filled with lights, modifiers, and complicated diagrams. In reality, you can learn almost everything you need to know with a single flash, one light stand, and a basic wireless trigger. The principles stay the same whether you’re using an affordable speedlight or a professional studio strobe.
In this guide, you’ll learn what off-camera flash actually is, why photographers prefer it over on-camera flash, how flash exposure differs from natural or constant light, and how to build your first lighting setup without becoming overwhelmed by technical details. By the end, you’ll understand not just how to use an off-camera flash, but how to think about light in a completely different way.
TL;DR
- Off-camera flash gives you complete control over the direction, quality, and intensity of your light.
- Moving the flash away from the camera creates more natural shadows, depth, and subject separation.
- You don’t need an elaborate studio to get started. One flash, one trigger, and one light stand are enough to learn the fundamentals.
- Constant lights and flash both have pros and cons. You should choose based on what you want to achieve.
- Flash photography becomes much easier once you understand how flash exposure differs from ambient light exposure.
- Learning to balance flash with existing light allows you to create natural-looking images in almost any environment.
- Start with one simple lighting setup before experimenting with multiple lights or advanced techniques.
- Mastering off-camera flash will improve not only your lighting skills but also the way you see and shape light in every photograph.
What Is Off-Camera Flash?
At its simplest, off-camera flash is exactly what the name suggests: a flash that isn’t attached to your camera.
Instead of mounting the flash on your camera’s hot shoe, you place it somewhere else. That might be on a light stand, held by an assistant, clamped to a piece of furniture, or even balanced on a shelf nearby. A wireless trigger mounted on your camera tells the flash exactly when to fire, allowing the two to communicate without being physically connected.
That may not sound like a dramatic change, but it completely transforms the way light behaves in your photographs.
Think about how natural light works throughout the day. The sun is almost never directly behind your eyes. It moves across the sky, changing the direction of the light and, with it, the mood of the scene. Early morning and late afternoon light create long shadows that reveal texture and depth. Window light entering from the side of a room wraps gently around a person’s face, creating highlights and shadows that make the subject feel three-dimensional.
Off-camera flash gives you the ability to recreate that same kind of intentional lighting whenever you want.
Instead of asking, “How do I photograph this scene with the light that’s available?” you begin asking a much more powerful question: “Where do I want the light to come from?”
That shift in thinking is one of the biggest milestones in a photographer’s development.
Many beginners assume that a flash exists simply to make dark scenes brighter. Professional photographers tend to see it differently. To them, a flash is a portable light source that can be placed almost anywhere to shape the image exactly the way they envision it. Brightness is only one part of the equation. Direction, softness, contrast, and separation often matter much more.
This is also why two photographers can use the same camera, the same lens, and even the same flash while producing completely different images. The equipment matters, but the placement of the light -and the intention behind it- matters far more.
As you continue through this guide, try not to think of your flash as an accessory attached to your camera. Think of it as a light that happens to communicate with your camera. That small change in perspective makes it much easier to understand every concept that follows.
You should also read: Depth in Photography and Video: How to Create Layered Images
Why On-Camera Flash Often Looks Artificial
If you’ve ever looked at a photo and immediately thought, “that was taken with a flash,” you’re probably reacting to the quality and direction of the light rather than the fact that a flash was used.
Interestingly, some of the best flash photography doesn’t look like flash photography at all.
When people complain that flashes produce harsh or unnatural images, they’re usually talking about photos taken with a built-in flash or a speedlight mounted directly on top of the camera. In those situations, the light source sits only a few centimeters above the lens, so the camera and the light are almost looking at the subject from exactly the same direction. That creates a very specific look.
Because the light is traveling almost parallel to the lens, most shadows fall directly behind the subject, where the camera can’t see them. Without visible shadows, faces lose much of their shape. Cheekbones become less defined, skin texture can become more obvious, and the entire image starts to feel flatter than the scene looked in real life.
This is one reason many beginners describe flash photography as “harsh.” In reality, the problem isn’t simply that the light is bright. It’s that the light has very little direction, and it isn’t modified by the photographer.
Our brains use light and shadow to understand the shape of the world around us. Every day, sunlight, window light, and indoor lighting create subtle transitions between highlights and shadows that tell us where objects begin, where they end, and how they relate to one another in space. When those transitions disappear, photographs can start feeling artificial even if the exposure is technically correct.
Another issue is that on-camera flash often illuminates your subject much more strongly than the background.
Imagine photographing someone in a dimly lit room. The flash has enough power to expose the person standing a few feet away, but it may not reach the back wall or the rest of the environment. The result is a brightly lit subject surrounded by a dark background. Sometimes that’s exactly the effect you want, but more often it disconnects the subject from the scene instead of making them feel like part of it.
The light also tends to hit the face straight on, reducing texture in some places while exaggerating it in others. Reflections become stronger, especially on skin, glasses, or shiny clothing. Combined with the flat lighting, this can produce the familiar “snapshot” look that many people associate with camera flashes.
Please note that none of this means on-camera flash is useless.
Photojournalists, event photographers, and wedding photographers often use on-camera flash because they need to work quickly in changing environments. Sometimes capturing the moment is far more important than creating perfect lighting. On-camera flash can also be bounced off ceilings or walls to produce much softer, more natural results, which is a technique we’ll cover in a separate guide.
The important thing to understand is that on-camera flash involves compromises. Its position is determined by where the camera is, not by where the light should ideally be.
Off-camera flash removes that limitation. Once the flash is no longer attached to the camera, you can place it wherever it serves the photograph best.
You might move it to the side to create more depth, raise it higher to imitate sunlight, position it behind the subject to create separation, or lower it to create a more dramatic mood. You’re no longer accepting the light you’re given. You’re designing it.
That freedom is what makes off-camera flash so powerful. The flash itself hasn’t changed. It’s the same piece of equipment producing the same burst of light. What has changed is your ability to decide where that light comes from, and that single decision has a bigger impact on the final image than most beginners expect.
You should also read: How Focal Length Changes Composition and Perspective (+Free Visualizer Tool)
Why Photographers Move the Light
One of the biggest mindset shifts you’ll make as a photographer is realizing that lighting isn’t just about making a scene brighter. It’s about deciding what you want your viewer to notice and how you want them to feel when they look at the image.
Moving the flash is one of the simplest ways to influence both.
Imagine photographing the same person with exactly the same camera settings and exactly the same flash power. The only thing you change is the position of the flash.
If the flash is placed directly in front of the subject, the portrait will usually feel clean, even, and relatively flat. Move it about 45 degrees to one side, and the face suddenly gains depth because one side receives more light than the other. Raise the flash above eye level, and the shadows begin to resemble the way sunlight naturally falls on a person’s face. Move the light behind the subject, and you create a rim of light that separates them from the background.
Nothing about the subject has changed. The camera hasn’t changed. Even the flash hasn’t changed.
The only thing you’ve changed is the direction of the light, yet the photograph can feel completely different.
This is why experienced photographers often spend more time moving a light (relative to the subject) than changing camera settings. Once the exposure is reasonably close, the position of the light usually has a much greater effect on the mood and appearance of the image than adjusting your aperture by a third of a stop or raising your ISO slightly.
The direction of the light also influences where the viewer looks first. Our eyes are naturally drawn toward brighter areas and stronger contrast. By deciding where your flash falls and where the shadows remain, you’re quietly guiding the viewer through the frame. In other words, lighting becomes part of your composition, not something separate from it.
This idea connects closely to the principles of composition. Just as leading lines guide the viewer’s eye through a scene, light can do exactly the same thing. It can isolate your subject, create visual balance, reveal texture, or hide distracting details that don’t contribute to the story you’re trying to tell.
There’s another advantage to moving the flash that beginners often overlook: consistency.
Natural light changes constantly. Clouds move, the sun sets, and indoor lighting varies from room to room. An off-camera flash gives you a reliable light source that behaves the same way every time you use it. Once you’ve built a lighting setup you like, you can recreate it days, weeks, or even months later with only minor adjustments.
That consistency is one reason commercial photographers rely so heavily on artificial lighting. When a client expects the same quality across dozens or hundreds of images, controlling the light becomes far more practical than waiting for perfect natural conditions.
Of course, this doesn’t mean off-camera flash should replace natural light. Some of the best portraits combine both. A flash might gently fill the shadows created by a window, add separation from the background during golden hour, or become the main light after the sun has disappeared below the horizon. Rather than thinking of flash and natural light as competing options, it’s better to think of them as tools that can work together.
Once you begin seeing light this way, your flash stops being an emergency solution for dark environments. It becomes another creative tool. One that allows you to shape the scene instead of simply reacting to it.
Flash vs. Continuous Light: Which One Should You Use?
By now, we’ve established that moving your light away from the camera gives you much more creative control. But another question naturally follows.
If the goal is simply to put the light where you want it, why use a flash at all? Why not use an LED panel, an RGB tube light, or a COB light that stays on continuously?
The answer is that neither approach is objectively better. They simply solve different problems.
A flash produces an extremely powerful burst of light that lasts for only a tiny fraction of a second. A continuous light source, on the other hand, emits a constant stream of light for as long as it’s turned on. That single difference affects almost every aspect of how you photograph a scene.
One of the biggest advantages of a flash is its power.
Even relatively small speedlights can produce enough light to compete with bright daylight or illuminate subjects from several meters away. Larger studio strobes are even more powerful, allowing photographers to use smaller apertures, lower ISO values, or overpower the sun when necessary. Producing the same amount of light with a continuous source would require a much larger, more expensive fixture that also generates considerably more heat and consumes much more power.
That power also makes flash an excellent choice for freezing movement.
Because the burst of light is so brief, the flash often becomes what actually freezes your subject rather than the shutter speed itself. This is why flashes are commonly used for portraits, sports, dance, splashing liquids, and many types of commercial photography where sharpness is critical. Even if your shutter remains open for much longer, the flash records your subject during an incredibly short instant.
You should also read: How to Take Sharp Photos Every Time
But continuous lights also have strengths of their own.
Since they’re always on, you can see exactly how the light and shadows will look before taking the photograph. That makes them much easier to learn at first because there are no surprises after pressing the shutter.
They’re also the obvious choice for video production, where a flash simply isn’t an option. So if you’re doing photos and videos in the same session and want the same consistent light throughout, constant lights may be the better choice.
Many photographers also prefer continuous lighting when working with beginners or nervous clients. Seeing the light continuously can feel less distracting than repeated bursts from a flash, making the session more relaxed.
There are creative differences as well.
If you want to capture intentional motion blur, do light painting, or use techniques like shutter drag portraits, continuous lights become part of the creative process because they’re visible throughout the entire exposure.
In fact, the light streak portraits we covered in the previous guide combine both types of lighting. The flash freezes the subject, while the continuous RGB light creates the colorful streaks during the long exposure. Neither light source could produce that result on its own.
Rather than thinking of flash and continuous light as competitors, it’s better to think of them as complementary tools.
A flash gives you enormous power and the ability to freeze motion. A continuous light lets you see the final lighting before taking the picture and works for both photography and video. Many photographers -including me- regularly use both, choosing whichever tool best suits the image they’re trying to create.
Understanding the strengths of each light source is more valuable than choosing one side. The more tools you become comfortable with, the more freedom you’ll have to create the photographs you imagine.
| Flash | Continuous Light |
| Very powerful | Usually less powerful |
| Freezes motion | Motion depends on shutter speed |
| Doesn’t show the final lighting until you shoot | WYSIWYG – you see the lighting before shooting |
| Excellent for portraits and action | Excellent for video and learning lighting |
| Very energy efficient | Higher power consumption |
| Can overpower sunlight | Usually struggles in bright daylight |
Pro tip: for your first flash, try to get one that has a modeling lamp. It’ll remove some of the guess-work out of your learning process.
Modeling lamps are a constant light, much weaker than the actual flash. But they’ll show you a preview of the direction and effects of your flash.
Understanding Exposure with Flash
One of the biggest reasons photographers find flash intimidating is that it seems to rewrite everything they learned about exposure. You spend time understanding the exposure triangle, become comfortable balancing shutter speed, aperture, and ISO, then you add a flash and suddenly nothing behaves the way you expect.
The good news is that the exposure triangle hasn’t stopped working. What’s changed is that your camera is no longer recording just one source of light.
When you’re shooting with only natural or continuous light, every part of your image is illuminated by the same type of light. Your camera records that light over the entire time the shutter remains open. Whether you change the shutter speed, aperture, or ISO, you’re affecting the same light source.
But flash photography is different.
Now your image is being illuminated by two separate light sources. The first is the ambient light that’s already present in the scene. This could be sunlight, window light, street lights, or the lamps inside a room. The second is the brief burst of light produced by your flash.
Those two light sources behave very differently, and understanding that difference is the key to understanding flash photography.
Ambient Light and Flash Don’t Last the Same Amount of Time
Imagine you’re photographing someone indoors, near a window. Without using a flash, your camera records the window light for as long as the shutter stays open. If you use a shutter speed of one second, the camera collects that light for an entire second. If you shorten the exposure to 1/250 of a second, it collects much less ambient light, so the image becomes darker.
A flash doesn’t work like that.
Instead of producing light continuously, it emits a very short burst that often lasts somewhere between 1/1,000 and 1/20,000 of a second, depending on the flash and power setting. Even though your shutter might stay open much longer, the flash only contributes light during that tiny fraction of the exposure.
This is why photographers often say that flash “freezes” a subject. The flash isn’t freezing anything physically. It’s simply producing a very brief burst of light that captures the subject sharply during an extremely short moment in time.
Once you understand this, many things that seemed confusing suddenly start making sense.
You should also read this guide on shutter speed.
Shutter Speed Mostly Controls the Ambient Light
This is probably the concept that surprises beginners the most.
Imagine you’re photographing a person standing in front of a city skyline at dusk. You’ve already adjusted your flash so your subject is properly exposed.
Now, without touching the flash power, you slow your shutter speed from 1/200 second to 1/30 second.
What happens?
The city lights become brighter.
The sky becomes brighter.
The background contains more detail.
But your subject stays almost exactly the same as far as brightness goes.
That feels strange the first time you see it because you’ve spent months learning that shutter speed affects exposure. It still does. But in flash photography, its biggest influence is usually on the ambient light, not the flash.
The opposite is also true.
If you increase your shutter speed, the background becomes darker because less ambient light reaches the sensor. Meanwhile, your flash still delivers the same burst of light to your subject, so they remain nearly identical in brightness.
This gives you an incredible amount of creative control. You can make the environment look bright and natural while keeping your subject properly lit, or you can darken the background dramatically to isolate your subject and create a more cinematic look. You’re no longer exposing the whole image with one control. You’re balancing two separate exposures.
There is one important limitation. This applies only up to your camera’s flash sync speed, which is usually somewhere around 1/200 or 1/250 of a second. We’ll cover high-speed sync in another guide, but for now it’s enough to know that staying below your sync speed keeps things simple.
Aperture Affects Both the Flash and the Ambient Light
Unlike shutter speed, aperture doesn’t care where the light comes from.
The aperture controls the size of the opening inside your lens. A wider aperture allows more light to reach the sensor, while a narrower aperture allows less. Since both your flash and the ambient light must pass through that opening, changing the aperture affects both of them.
Suppose you’re photographing a portrait at f/4 and decide to stop down to f/8.
The ambient light becomes darker.
The flash exposure becomes darker too.
To compensate, you could increase the flash power, raise your ISO, or slow the shutter speed if you want to recover some of the ambient exposure. This is why changing aperture often creates a chain reaction. It influences almost everything in the image.
Of course, aperture isn’t only an exposure control. It also affects depth of field, which means your creative choices matter just as much as your technical ones. Sometimes you’ll choose f/2.8 because you want a soft, blurry background. Other times you’ll choose f/11 because you need several people in focus. Your flash settings should support those creative decisions rather than dictate them.
You should also read this guide on aperture.
ISO Makes Everything Brighter
ISO works much like aperture in this respect.
Increasing ISO makes your camera more sensitive to light, so both the ambient light and the flash appear brighter. Lowering ISO has the opposite effect.
Many photographers try to keep ISO as low as possible when using flash because it gives them cleaner files and allows the flash to do more of the work. Modern cameras handle noise much better than older models though, so don’t be afraid to increase ISO when the situation calls for it. Like every other setting, it’s simply another creative tool.
You should also read this guide on ISO.
Flash Power Only Controls the Flash
Here’s the setting that makes flash photography so flexible.
If your background already looks exactly the way you want it but your subject is too dark, you don’t need to touch your shutter speed, aperture, or ISO. Instead, you simply increase the flash power.
Likewise, if your subject is too bright while the background looks perfect, you reduce the flash output.
This is one of the biggest differences between shooting with flash and shooting with only natural light. Instead of changing your camera settings every time the subject needs to be brighter or darker, you often leave the camera alone and adjust the flash itself.
Think of it this way: your camera settings determine how the sensor records light, while the flash power determines how much additional light you’re introducing into the scene.
Once that distinction clicks, flash exposure becomes much easier to control.
Think of It as Balancing Two Exposures
When I first started learning flash photography, I kept trying to solve every problem with the camera settings. If my subject looked too dark, I’d instinctively reach for ISO or aperture because that’s what I’d learned from shooting with natural light.
Eventually, I realized I was thinking about the scene as a single exposure when it was really two exposures happening at the same time.
One exposure belongs to the background.
The other belongs to the subject.
They’re connected, but they aren’t controlled in exactly the same way.
Once I started treating them separately, everything became much more predictable. Instead of randomly changing settings until the image looked right, I began asking myself two simple questions.
“Do I like the background?”
If not, I adjusted the ambient exposure.
Then I asked, “Do I like the subject?”
If not, I adjusted the flash.
That simple thought process removed most of the confusion I’d experienced when learning flash photography, and it’s still the approach I use today. Before long, you’ll stop thinking about flash as something complicated and start seeing it for what it really is: another light source that you have complete control over.
Your First Off-Camera Flash Setup
By this point, you understand why photographers move the flash away from the camera and how flash exposure differs from ambient exposure. The next step is putting that knowledge into practice.
The good news is that your first lighting setup doesn’t need to be complicated. In fact, the simpler it is, the faster you’ll learn.
One mistake I see beginners make all the time is trying to recreate complex studio lighting they found on YouTube or Instagram. They buy multiple flashes, several modifiers, colored lights, and dozens of accessories before they fully understand what a single light can do. The result is usually frustration rather than better photographs.
I recommend doing the opposite: start with one light.
Learn what happens when you move it a little higher. Move it farther away. Bring it closer. Place it to the side, then behind your subject. Watch how the shadows change, how the catchlights move across the eyes, and how the overall mood of the portrait evolves. You’ll learn far more from one afternoon experimenting with a single flash than you will from memorizing lighting diagrams.
The Equipment You’ll Need
You don’t need an entire studio to begin learning off-camera flash. A basic setup consists of:
- A camera with a hot shoe
- One off-camera flash (either a speedlight or a studio strobe)
- A wireless trigger that communicates with your flash
- A light stand
- A large light modifier
- A subject willing to be photographed
That’s it.
If you’re photographing people regularly, I’d also recommend having a reflector nearby. It isn’t essential, but it gives you another way to soften shadows without introducing a second light. You can learn more about this modifier by reading my reflectors and scrims guide.
We’ll talk more about light modifiers in dedicated guides, so for now, don’t worry too much about buying every accessory you come across.
Start with One Light at a 45-Degree Angle
If there were one lighting setup I could recommend to every beginner, it would be this one.
Place your subject a few meters away from the background to create some separation. Position your flash roughly 45 degrees to one side of the subject and slightly above eye level. Attach a large modifier to soften the light, then point it toward your subject’s face.
This setup is simple, but there’s a reason photographers return to it again and again.
Lighting from the side introduces gentle shadows that reveal the shape of the face without becoming distracting. Raising the light slightly mimics the direction of natural sunlight or window light, which feels familiar to our eyes. Combined with a large modifier, the result is flattering light that works for a wide variety of faces.
Don’t worry about getting the angle perfect. Move the light around and take test shots. Raise it a little. Lower it again. Bring it closer. Then move it farther away. One of the best ways to understand lighting is to change only one variable at a time and observe what happens.
Learn Distance Before You Learn Power
When beginners want brighter light, their first instinct is usually to increase the flash power. Sometimes that’s the right solution. Often though, moving the light is the better one.
The closer your flash is to the subject, the softer and more efficient it becomes. Move it farther away, and the light becomes relatively harder while also losing intensity. This means you can often change the look of your portrait simply by repositioning the light instead of adjusting the power settings.
Understanding this relationship between distance and light quality is far more valuable than memorizing specific flash outputs.
It’s also why professional photographers spend so much time walking their lights around a set. Before changing camera settings or flash power, they’re often asking a simpler question: “What if I move the light?”
To learn more about qualities of light, you should check out my guide on basics of lighting for photography and video.
Take Test Shots and Make Small Adjustments
Flash photography isn’t about getting everything perfect on the first frame. It’s about making deliberate adjustments.
Take a photograph. Look at it carefully. Is the background brighter than you wanted? Adjust your ambient exposure. Does the subject need more light? Increase the flash power or move the flash slightly closer. Are the shadows too deep? Try moving the light a little closer to the camera or introducing a reflector on the opposite side.
Only change one thing at a time.
If you adjust your shutter speed, aperture, flash power, light position, and subject position all at once, you won’t know which change produced the improvement, or made things worse. By isolating each variable, you’ll develop an intuition for lighting much faster.
This method might feel slow at first, but it builds a solid foundation. After enough practice, you’ll start predicting how a photograph will change before you even take it.
That’s when lighting stops feeling technical and starts feeling creative.
Common Beginner Mistakes
Every photographer struggles with flash when they’re starting out. That’s completely normal. The goal isn’t to avoid mistakes altogether, but to recognize them quickly and understand how to fix them.
Here are the problems I see most often:
Using the Flash Just as a Solution for Low Light
Many beginners reach for a flash only when it’s too dark to take a photograph.
That’s understandable, but it encourages the wrong mindset.
A flash isn’t simply an emergency light source. It’s a creative tool that can improve photographs even in broad daylight. You can use it to soften harsh shadows, separate your subject from the background, or balance difficult lighting conditions.
Instead of asking, “Do I need a flash?” try asking, “Would adding light improve this photograph?”
It’s a subtle difference, but it changes the way you think about lighting.
Leaving the Flash Too Close to the Camera
Technically, your flash can be off-camera while still producing flat-looking light.
If it’s only a few inches to the side of your lens, the shadows won’t change very much.
Don’t be afraid to move the flash farther away from the camera. Even small changes in angle can dramatically improve the sense of depth in your portraits.
Changing Too Many Settings at Once
Flash photography introduces another variable to an already technical process, so it’s tempting to start adjusting everything whenever a photo doesn’t look right.
Resist that temptation.
If the background is too dark, think about your ambient exposure first. If the subject is too dark, think about your flash.
Approaching problems methodically will save you a lot of frustration.
Focusing Too Much on Gear
It’s easy to believe that better lighting comes from buying another flash, another modifier, or another expensive accessory.
Most of the time, it doesn’t.
A photographer who understands one flash thoroughly will almost always produce better work than someone with five lights they don’t know how to use. Master the fundamentals first. The gear will make much more sense afterward.
When Should You Use Off-Camera Flash?
One of the biggest misconceptions about flash photography is that it’s only useful when there’s not enough light.
In reality, many photographers use flash because they want better light, not necessarily more light.
Imagine you’re taking portraits outside on a bright, sunny afternoon. There’s plenty of light available, but that doesn’t automatically mean it’s flattering. The sun may be directly overhead, creating deep shadows under your subject’s eyes and nose. A carefully positioned flash can fill those shadows and create a much more balanced portrait without making it obvious that artificial light was used.
The same idea applies indoors. A room may be bright enough to photograph without a flash, but the existing light might be coming from several directions, each with a different color temperature. Instead of fighting the available light, you can introduce your own and create a cleaner, more consistent look.
Off-camera flash is particularly useful whenever you want control over the final image. Portrait photography is the most obvious example, but it’s equally valuable for products, food, events, fashion, and commercial photography. Any time consistency matters, having your own light source makes your job easier.
It also becomes incredibly useful after sunset. Rather than stopping your shoot because the sun has disappeared, you can continue working while maintaining complete control over how your subject is lit. In fact, some of my favorite portraits are taken after the ambient light has faded enough that I can build the scene almost entirely with artificial lighting.
As your confidence grows, you’ll also discover that flash doesn’t always have to be the main light. Sometimes it’s there simply to lift the shadows a little. Sometimes it adds a subtle rim light behind the subject. Other times it’s only balancing bright daylight. The more you practice, the more naturally you’ll begin combining flash with the light that’s already available.
When Shouldn’t You Use Off-Camera Flash?
As useful as off-camera flash is, it isn’t the answer to every situation. Sometimes the available light is already perfect.
Beautiful window light, soft overcast skies, or the warm glow of golden hour often produce exactly the mood you’re trying to capture. In those moments, introducing a flash can actually make the image feel less natural rather than improving it. One of the most important skills you’ll develop as a photographer is knowing when to leave the lights in your bag.
To learn more about using natural light, check out these guides:
Mastering Golden Hour and Blue Hour: Practical Tips for Creators
How to Use Window Light for Portraits, Products, and Video
Cloudy Days Are a Gift: How to Shoot in Overcast Light
Off-camera flash can also slow you down. Setting up light stands, positioning modifiers, and taking test shots, all take time. If you’re photographing fast-moving moments, documentary work, or children who refuse to stay still, simplicity often wins. Capturing a genuine expression with natural light is usually better than missing it while adjusting your lighting setup.
There are also practical limitations. Some museums, concerts, performances, and event venues don’t allow flash photography at all. Even when it’s permitted, repeatedly firing a flash can become distracting for the people around you. Understanding the environment you’re working in is just as important as understanding your equipment.
Finally, don’t fall into the trap of believing every portrait needs flash to look professional. Great photographers create beautiful images with natural light every day. Flash simply gives you another option when natural light isn’t doing what you want.
The goal isn’t to replace one light source with another. It’s to choose the right tool for the photograph you’re trying to create.
Last Words
Learning off-camera flash can feel overwhelming at first because you’re adding another layer of decisions to an already technical craft. Suddenly you’re thinking about flash power, light placement, wireless triggers, and modifiers on top of aperture, shutter speed, ISO, and composition.
But once you understand the fundamentals, you’ll realize that flash photography isn’t about memorizing complicated formulas or expensive lighting diagrams. It’s about learning to observe light, predict how it behaves, and make deliberate choices instead of accepting whatever conditions you happen to find.
If there’s one piece of advice I’d leave you with, it’s this: don’t rush to build a complicated lighting setup.
Take one flash, place it beside your subject, and start experimenting. Move it higher. Move it lower. Bring it closer. Move it farther away. Watch how the shadows change, how the mood changes, and how the same person can look completely different simply because the light is coming from a different direction.
Those small experiments will teach you more than buying another light ever will.
Once you’re comfortable controlling a single flash, everything else becomes much easier. Adding a second light, experimenting with different modifiers, learning high-speed sync, or creating more advanced lighting setups all build on the same foundation you’ve learned here.
Lighting is one of the most powerful storytelling tools available to photographers. The sooner you stop thinking of flash as a way to brighten a scene and start thinking of it as a way to shape a scene, the more creative freedom you’ll have every time you pick up your camera.
FAQ
What is off-camera flash?
Off-camera flash is a photography technique where the flash is placed away from the camera instead of mounted on the hot shoe. This allows you to control the direction, quality, and intensity of the light much more effectively.
Do I need an expensive flash to get started?
No. A single entry-level speedlight, a wireless trigger, and a light stand are enough to learn the fundamentals of off-camera flash. Understanding how to position and control one light is far more important than owning expensive equipment.
What’s the difference between on-camera and off-camera flash?
The biggest difference is the direction of the light. On-camera flash shines from almost the same position as the lens, often producing flat-looking images. Off-camera flash can be placed wherever it best suits the scene, creating more natural shadows, depth, and subject separation.
Do I need to shoot in Manual mode?
Manual mode makes learning off-camera flash much easier because it gives you complete control over your camera settings and allows you to balance flash with ambient light consistently. While TTL flash can automate some of the exposure, understanding manual flash first gives you a much stronger foundation.
How many flashes do I need?
One. A single flash is enough to learn light placement, flash exposure, and portrait lighting. Most photographers will benefit far more from mastering one light than immediately trying to control two or three.
Can I use off-camera flash outdoors?
Absolutely. Off-camera flash is commonly used outdoors to fill harsh shadows, balance bright sunlight, create dramatic portraits after sunset, or separate the subject from the background.
Is off-camera flash only for portrait photography?
Not at all. Portraits are where many photographers first learn the technique, but off-camera flash is also widely used for product photography, food photography, macro photography, commercial work, and many other genres where controlling the light is important.
What’s the best way to practice off-camera flash?
Keep your setup as simple as possible. Photograph the same subject while moving a single flash to different positions around them. Change only one variable at a time so you can clearly see how light direction, distance, and flash power affect the final image.


